
How to setup Stripe plugin in Medusa.js on Nomodo: Step‑by‑Step Guide
This guide will walk you through installing and configuring the Stripe plugin in your Medusa.js project on an existing Nomodo instance.
Prerequisites:
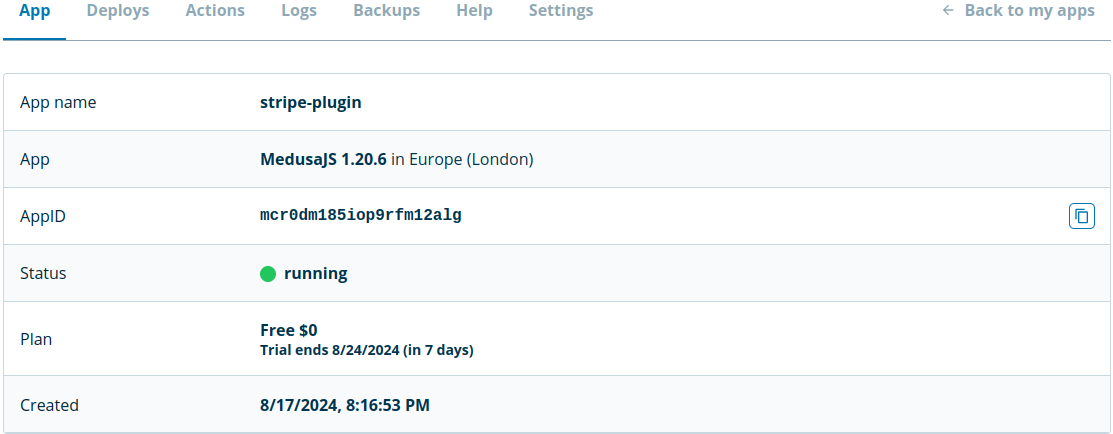
- MedusaJS instance on nomodo.io
- Stripe account
- Front-end MedusaJS store.
This guide has three steps:
- Install and configure the Stripe plugin.
- Change environment variables and deploy via Nomodo admin
- Configuring stripe environment variables according to the Stripe documentation and restarting the application
1. Install and configure the Stripe plugin.
To begin, we expect that you have an already running medusajs project on Nomodo, and a running medusajs project on your local machine.
Let’s continue by installing the stripe plugin, run the command below:
npm i medusa-payment-stripe@^6.0.10If the installation is successful, the stripe plugin will be added to your package.json file.

To configure the plugin, open the medusa-config.js file and add the following at the end of the plugins array:
const plugins = [
 // ....
 {
   resolve: `medusa-payment-stripe`,
   options: {
     api_key: process.env.STRIPE_API_KEY,
     webhook_secret: process.env.STRIPE_WEBHOOK_SECRET,
   },
 },
];
1.1 Get and store Stripe API keys
The plugin accepts an api_key, necessary for both your development and production environments, and webhook_secret required for your production environment.
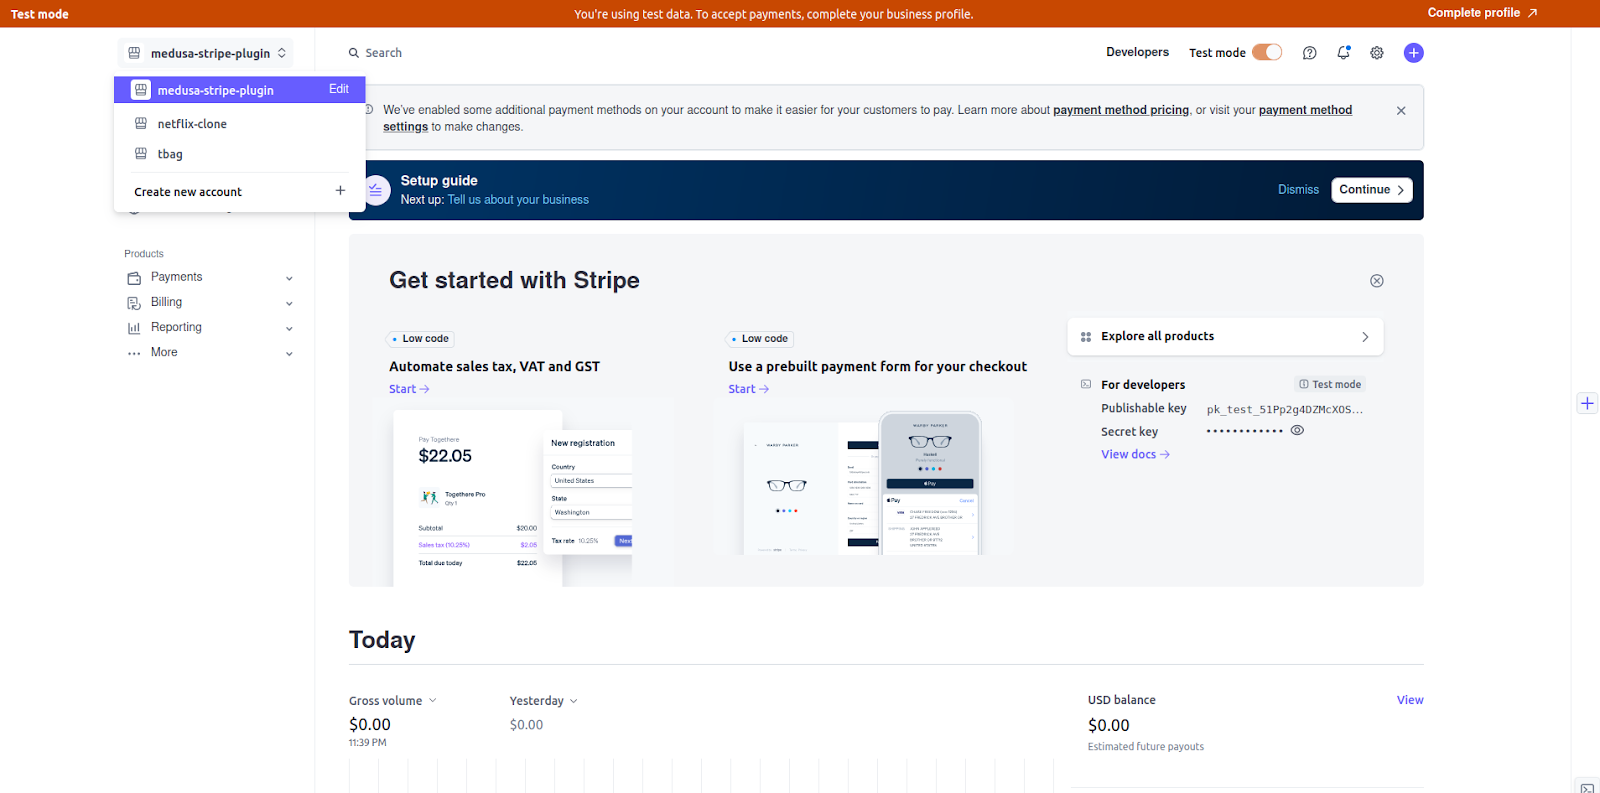
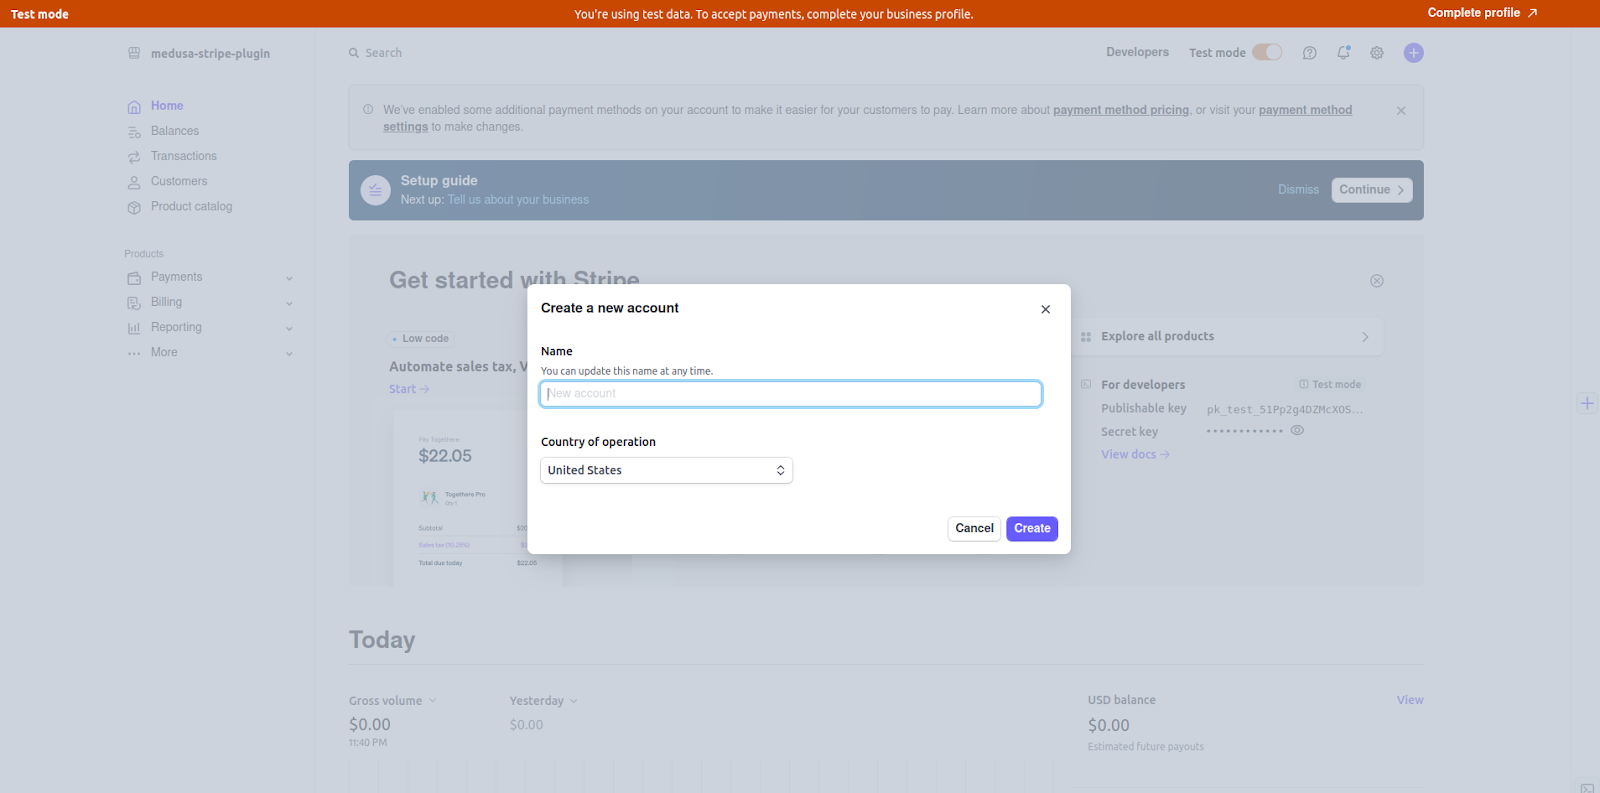
To get your api_key go to your Stripe’s account dashboard and create a new account for your MedusaJS project:
Once your account is created, click on the developers tab, then API keys section under it.
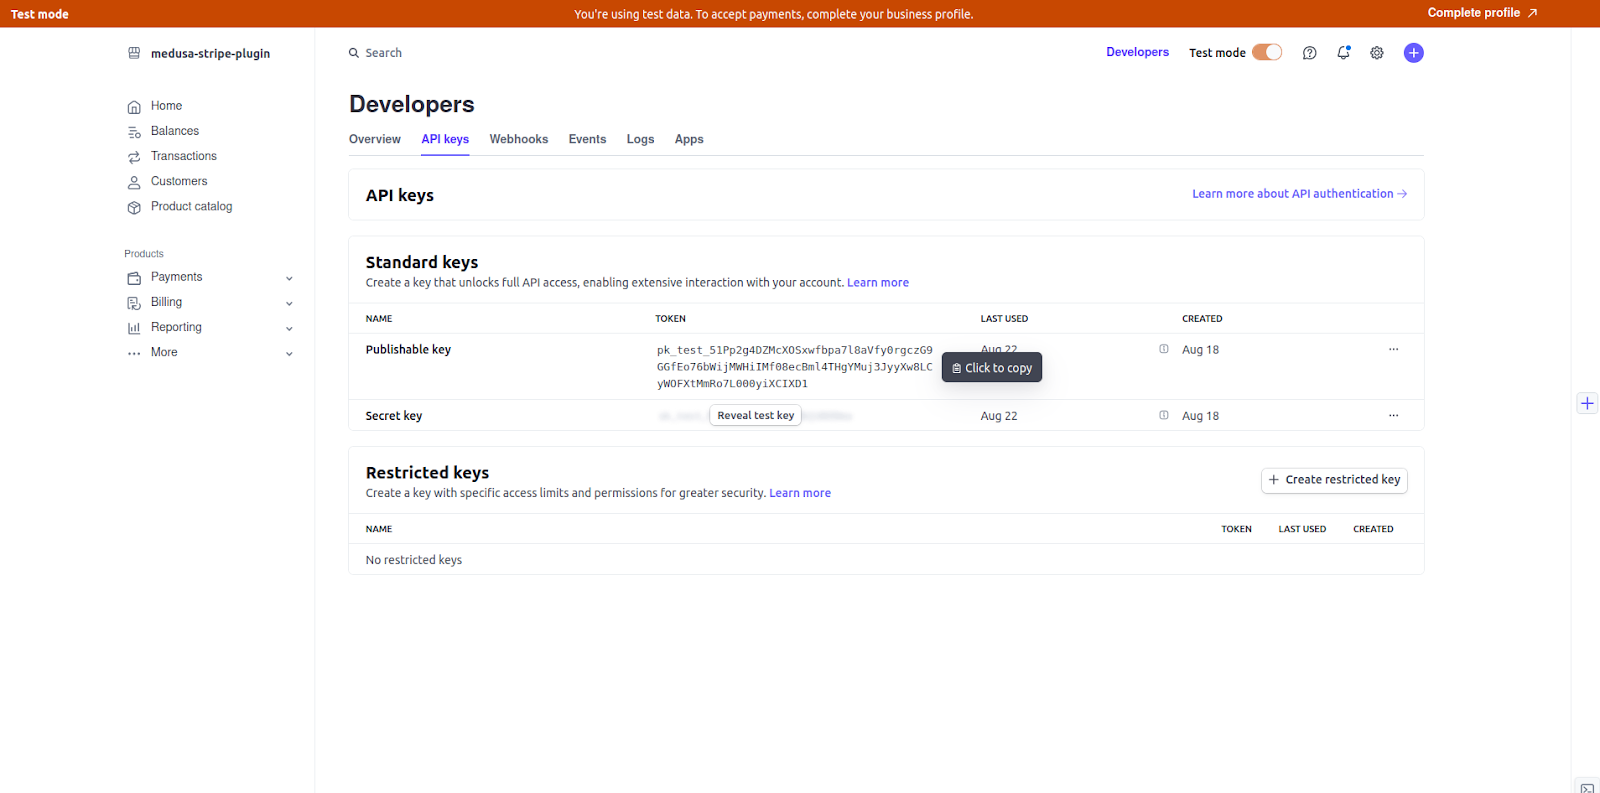
Click to reveal your secret key:

Click to copy the key, add to your medusa backend .env.local file in your local machine.
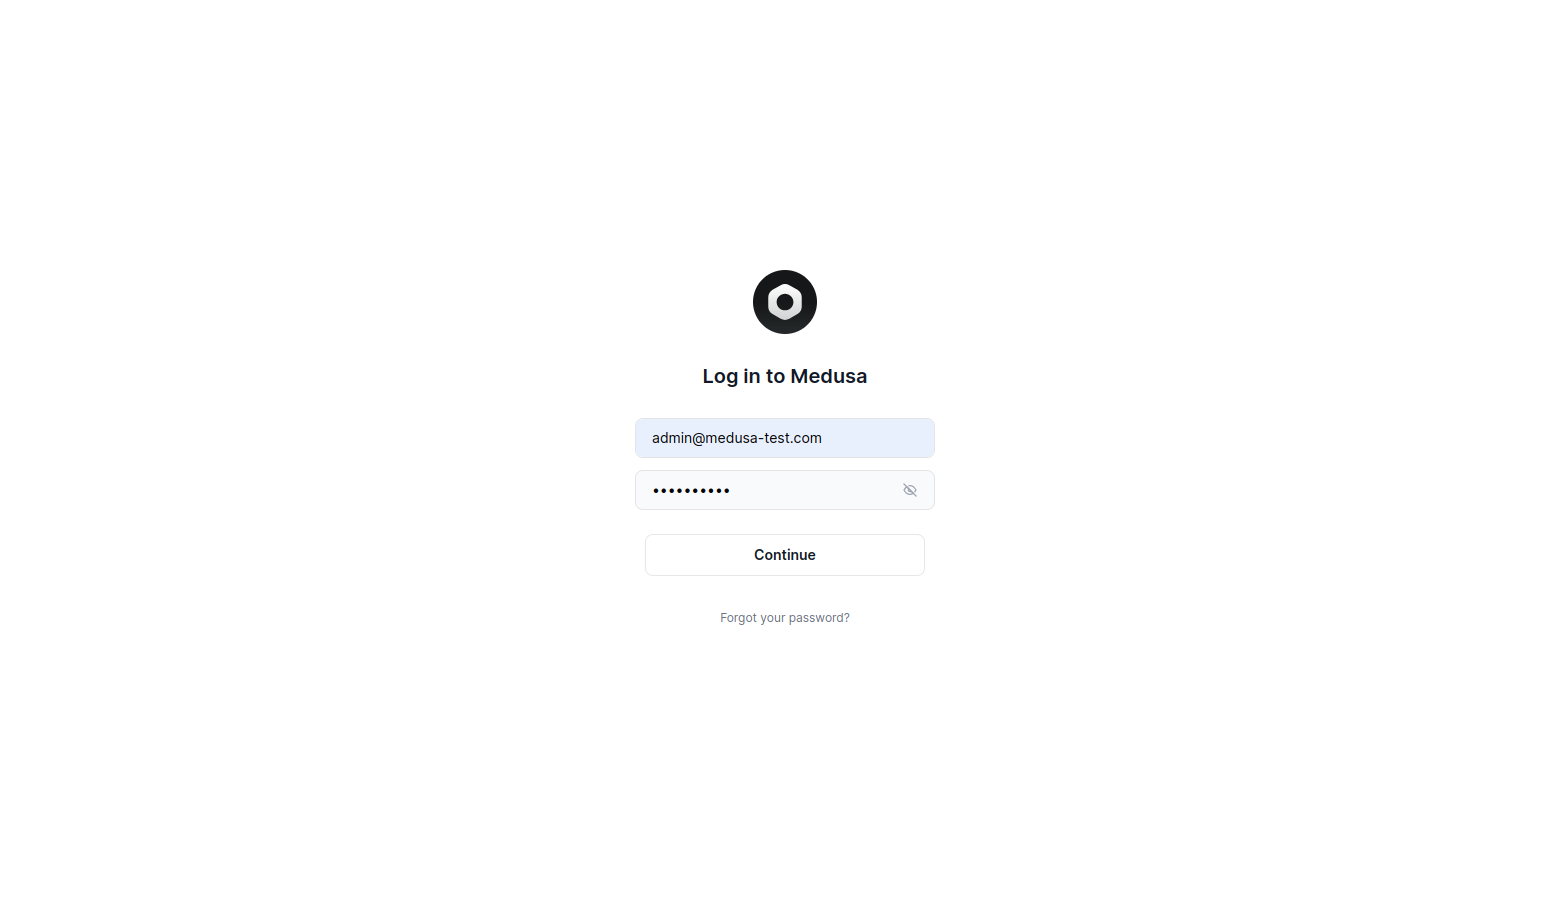
Once done, restart your medusa js locally with npm run start, and open the Medusa admin on localhost:7001
1.2. Updating Environment Variables in Nomodo.io admin
These Stripe’s environment variables, the secret_key and the webhook_secret must also be saved in the nomodo.io admin; go to Settings → Environmental variables and add accordingly. Once done, you can click on Restart or Redeploy to propagate the changes.
1.3 Adding Regions in Medusa.js
In this section, we will learn how to manage stripe payments as per region, this enables a customer to select Stripe as a payment provider during checkout to complete their purchases.
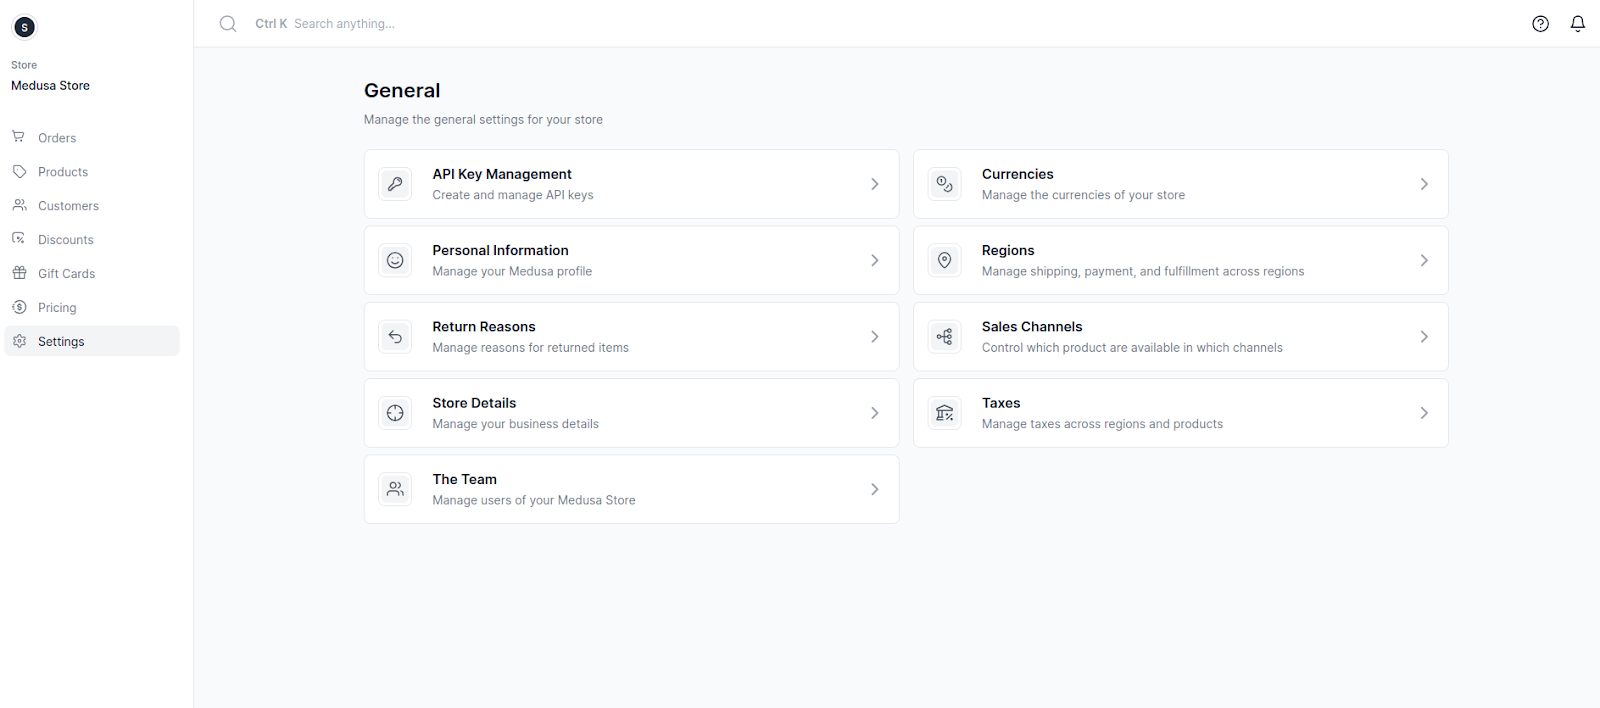
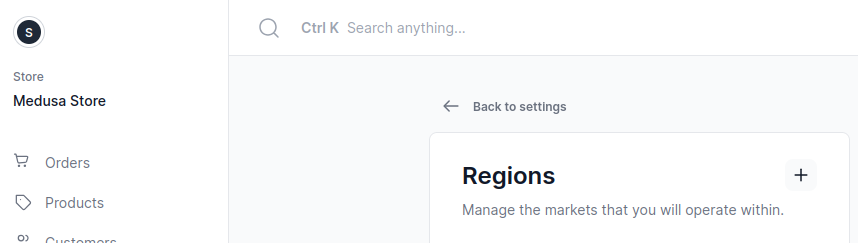
Go to the Settings section on the sidebar and select Regions:
Click on the + icon to add a new region
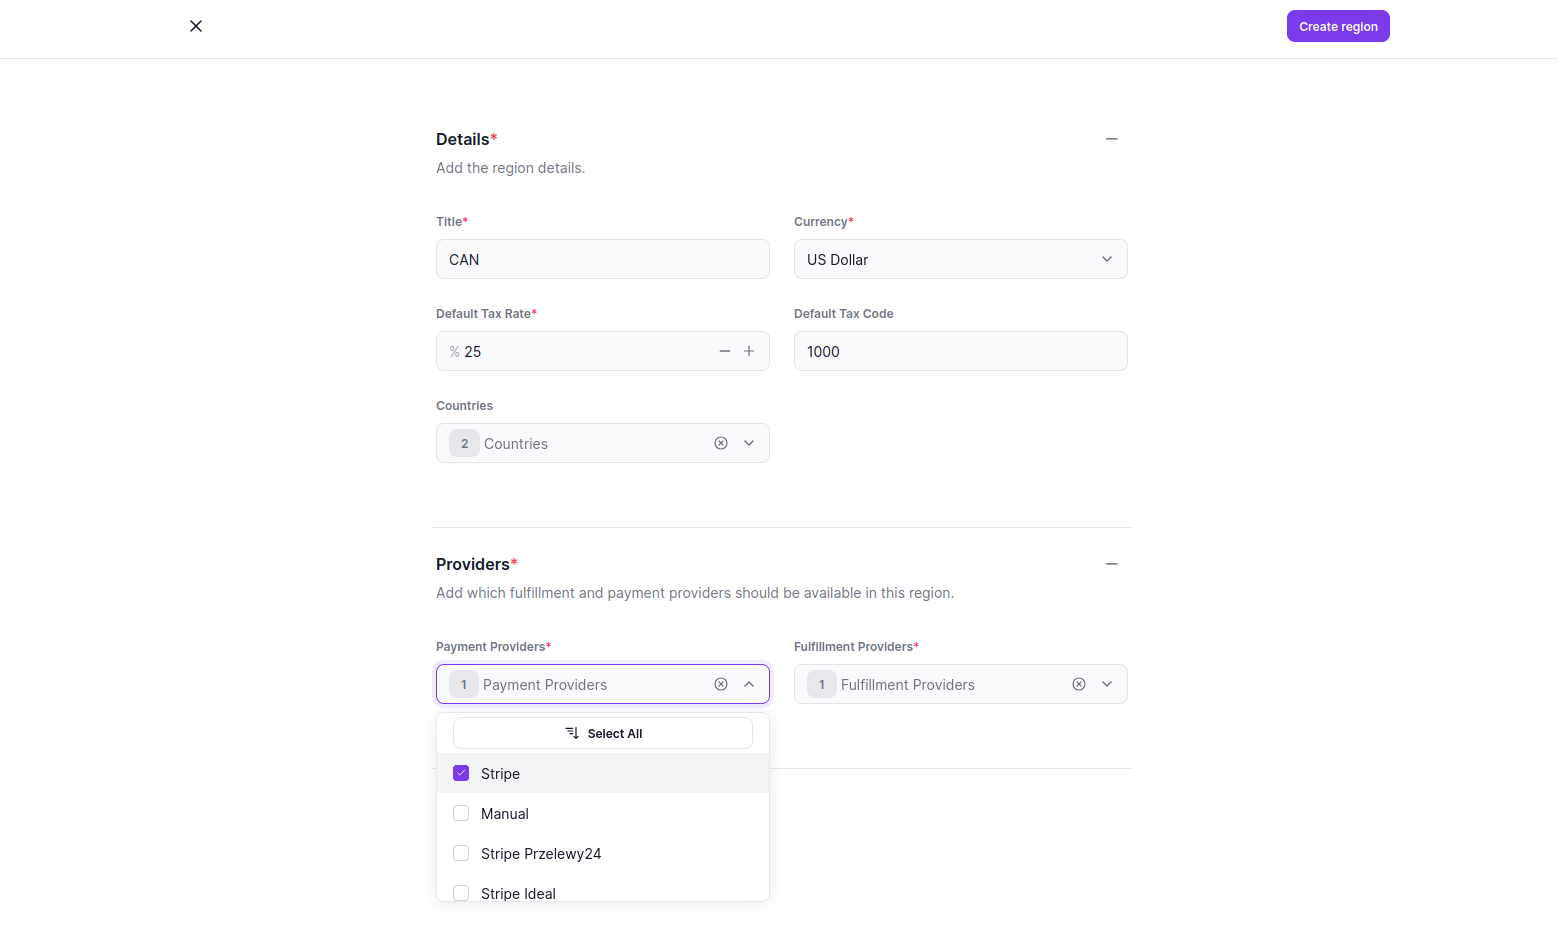
You will be required to add region details, including currency, taxes, payment, and fulfilment providers.
On the Payment Providers dropdown list, select Stripe, and on the Fulfilment Providers dropdown list select the Manual option. Save and close.
To view the region details created, click on Region’s top right hand, then click Edit Region Details button.
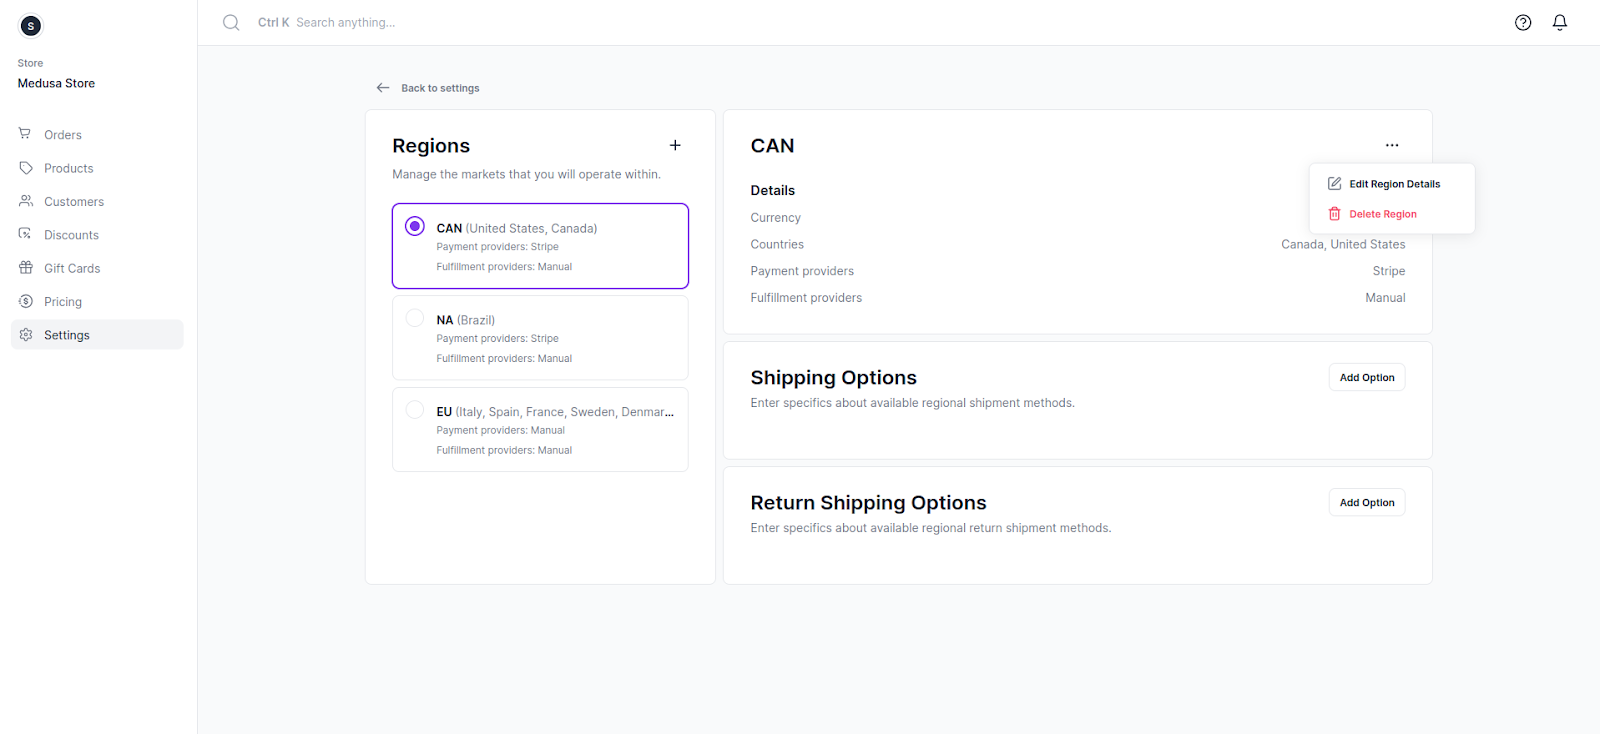

At this point, everything in the MedusaJS backend is now configured.

1.4 Adding Stripe in Frontend
If you have no frontend repository, a quick setup guide is provided here, use the 2nd option as you already have a running medusa backend, follow the instructions to create a Next.js storefront separately.
For the stripe payment to work on the front-end, you need to get stripe’s “publishable key” from the developers tab under api keys in your stripe account dashboard:

Add the key in the .env.local file in your front-end code, this will help in testing the stripe payment method from the UI, and restart the frontend server.
1.5. Test Stripe integration on frontend
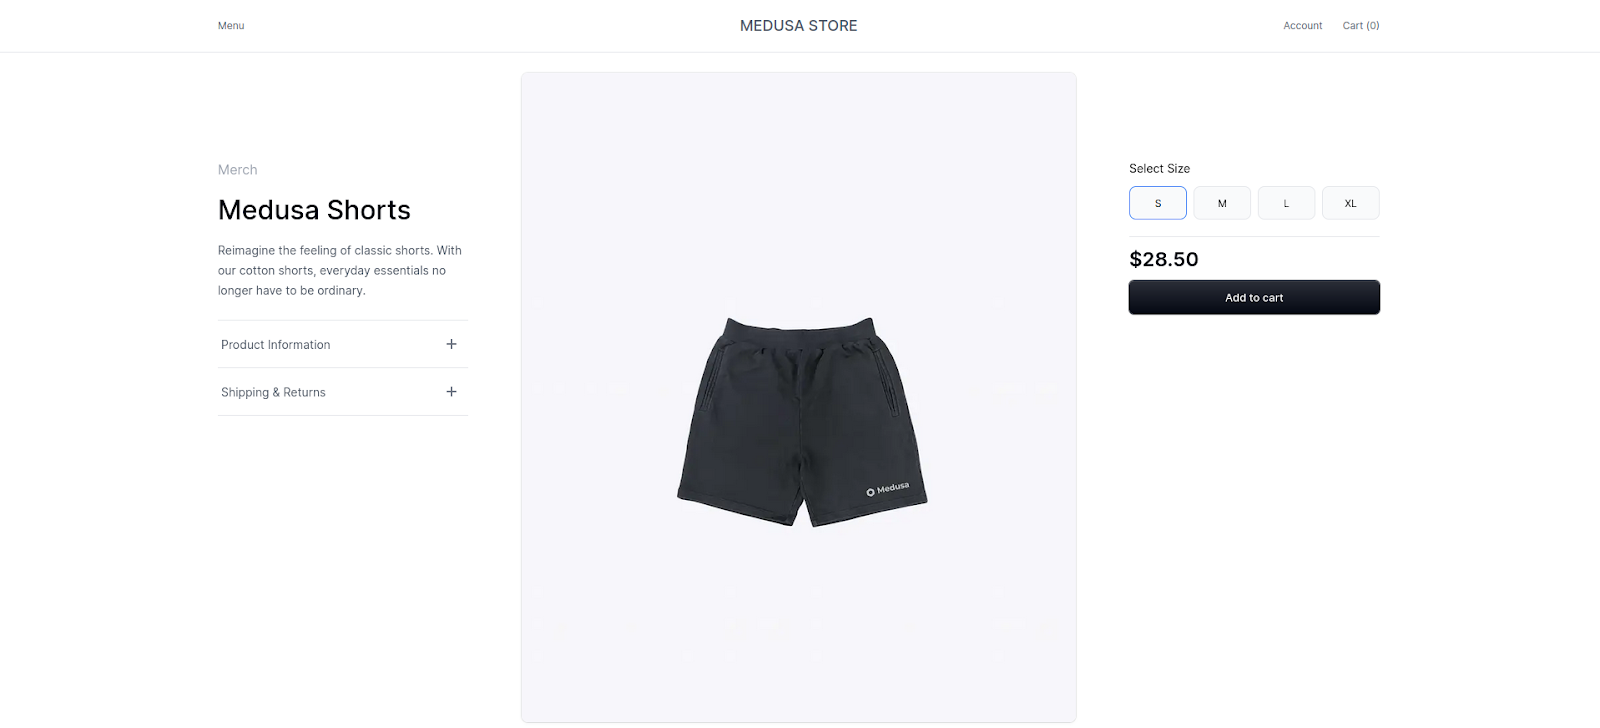
To test stripe payment method, go to the store catalogue, in this case http://localhost:8000/us/store, this displays a list of items in “us” store, “us” being the default region set in our .env.local file with the NEXT_PUBLIC_DEFAULT_REGION key, select an item and add to cart.
Navigate to Cart to checkout the items.
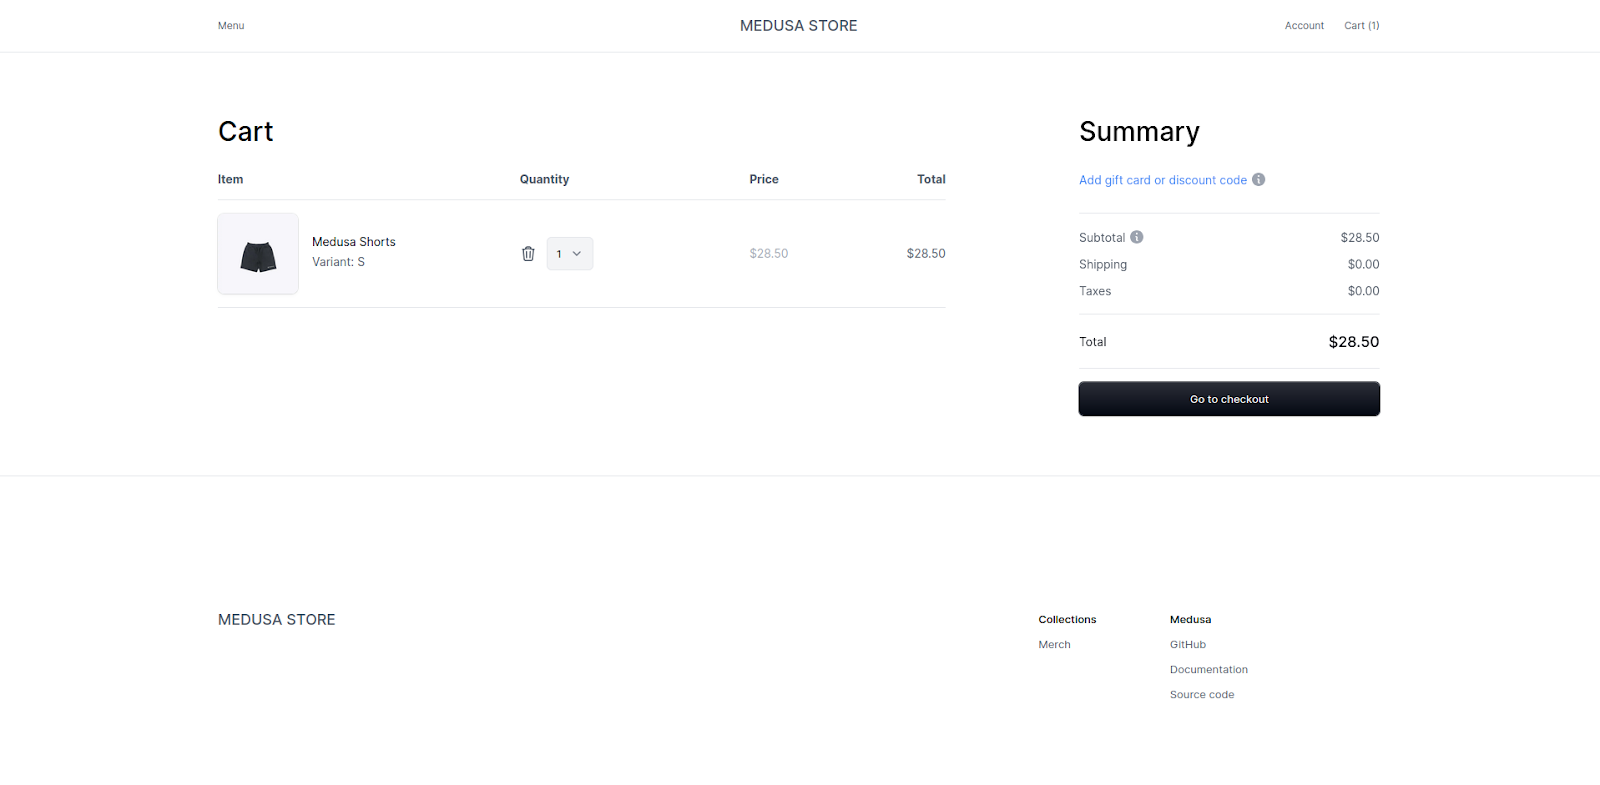
To checkout, click Go to checkout, add your shipping address, delivery method and click Continue to payment.
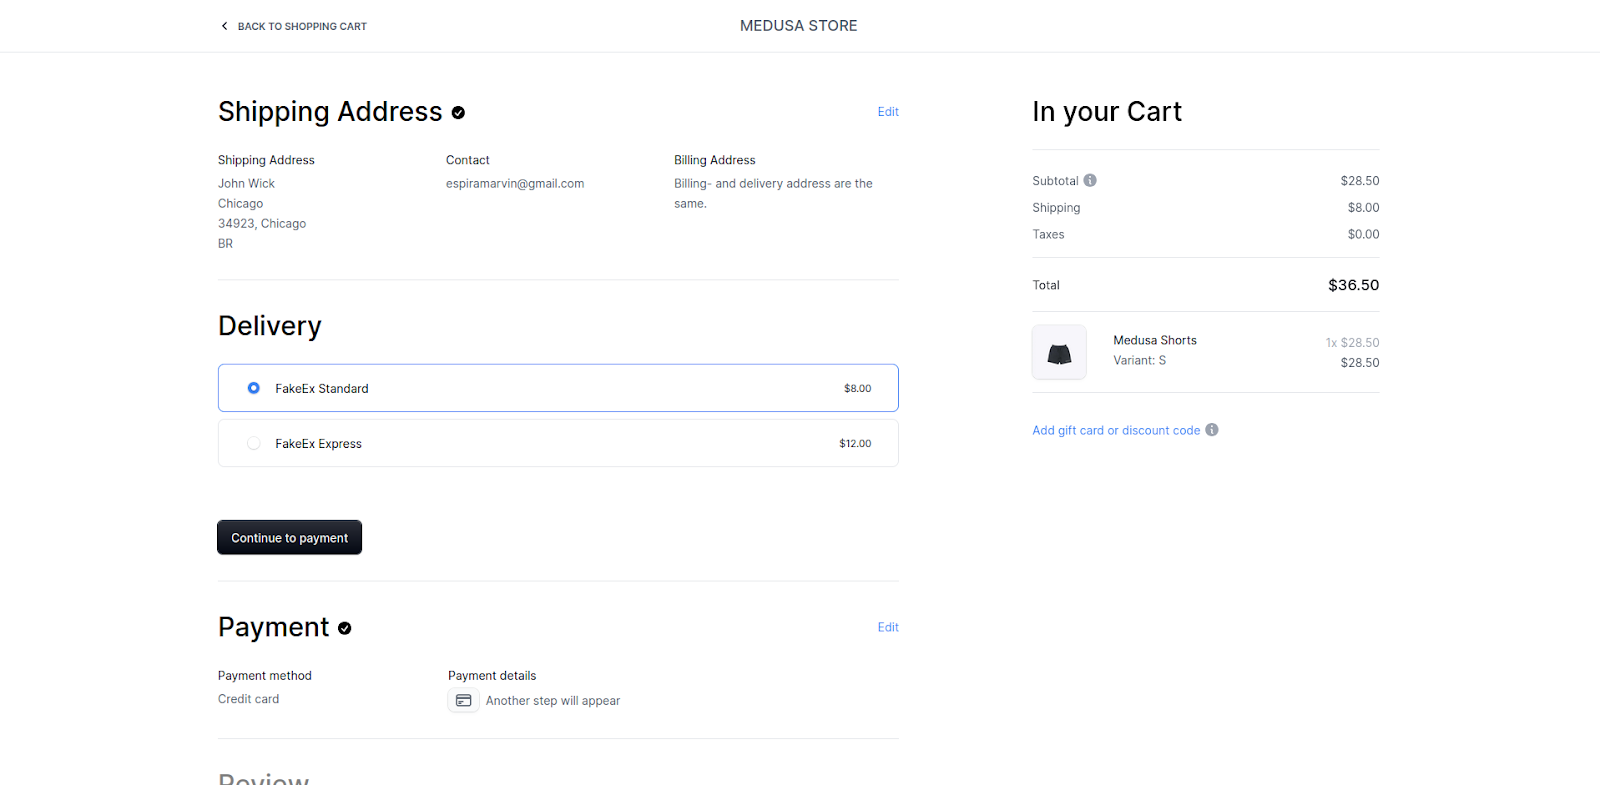
An option to add credit card details is now shown, we will use Stripe’s test card number.
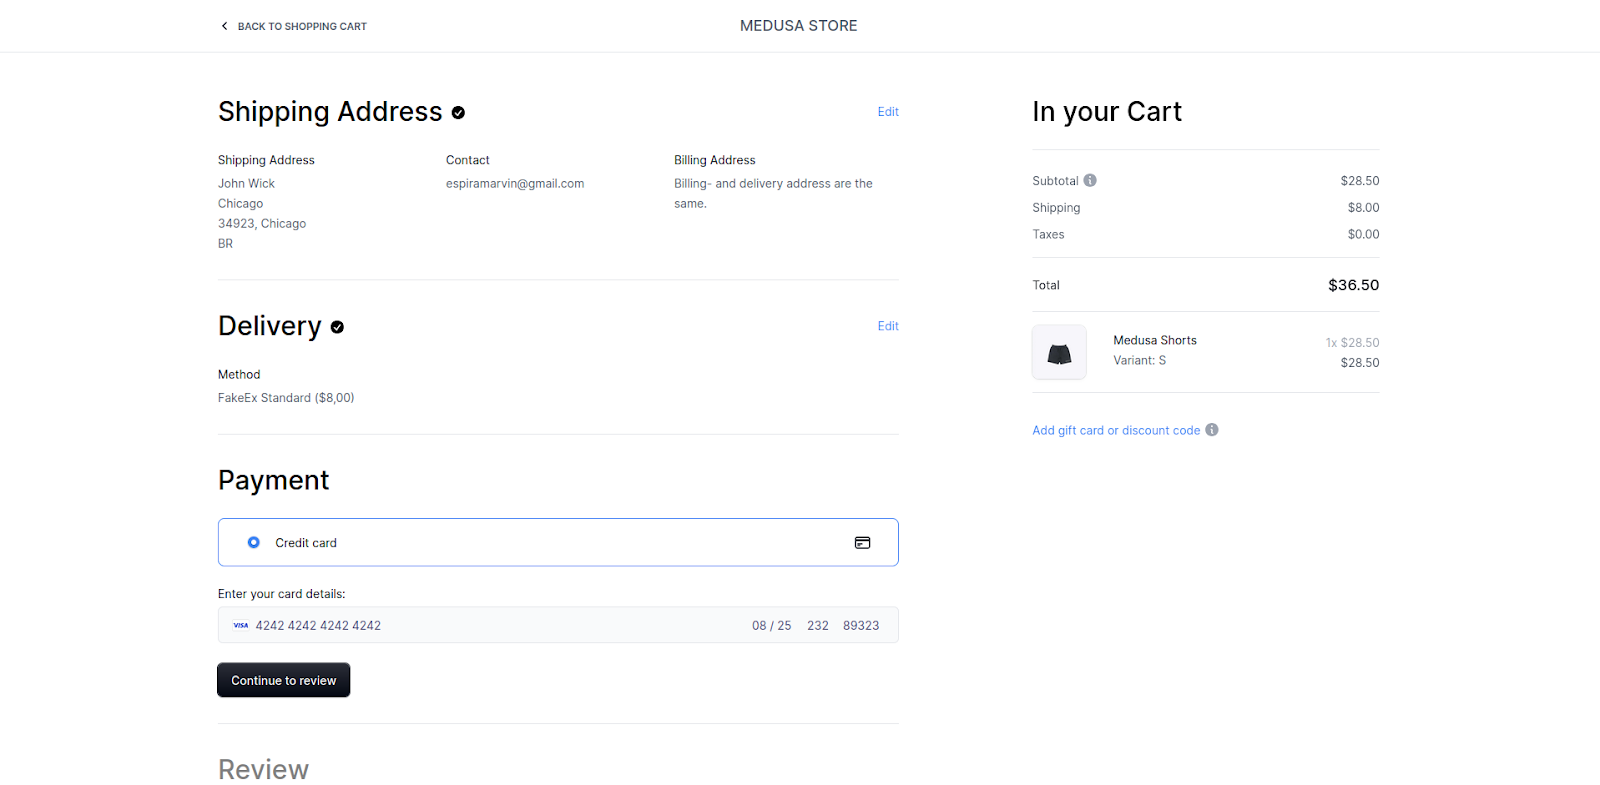
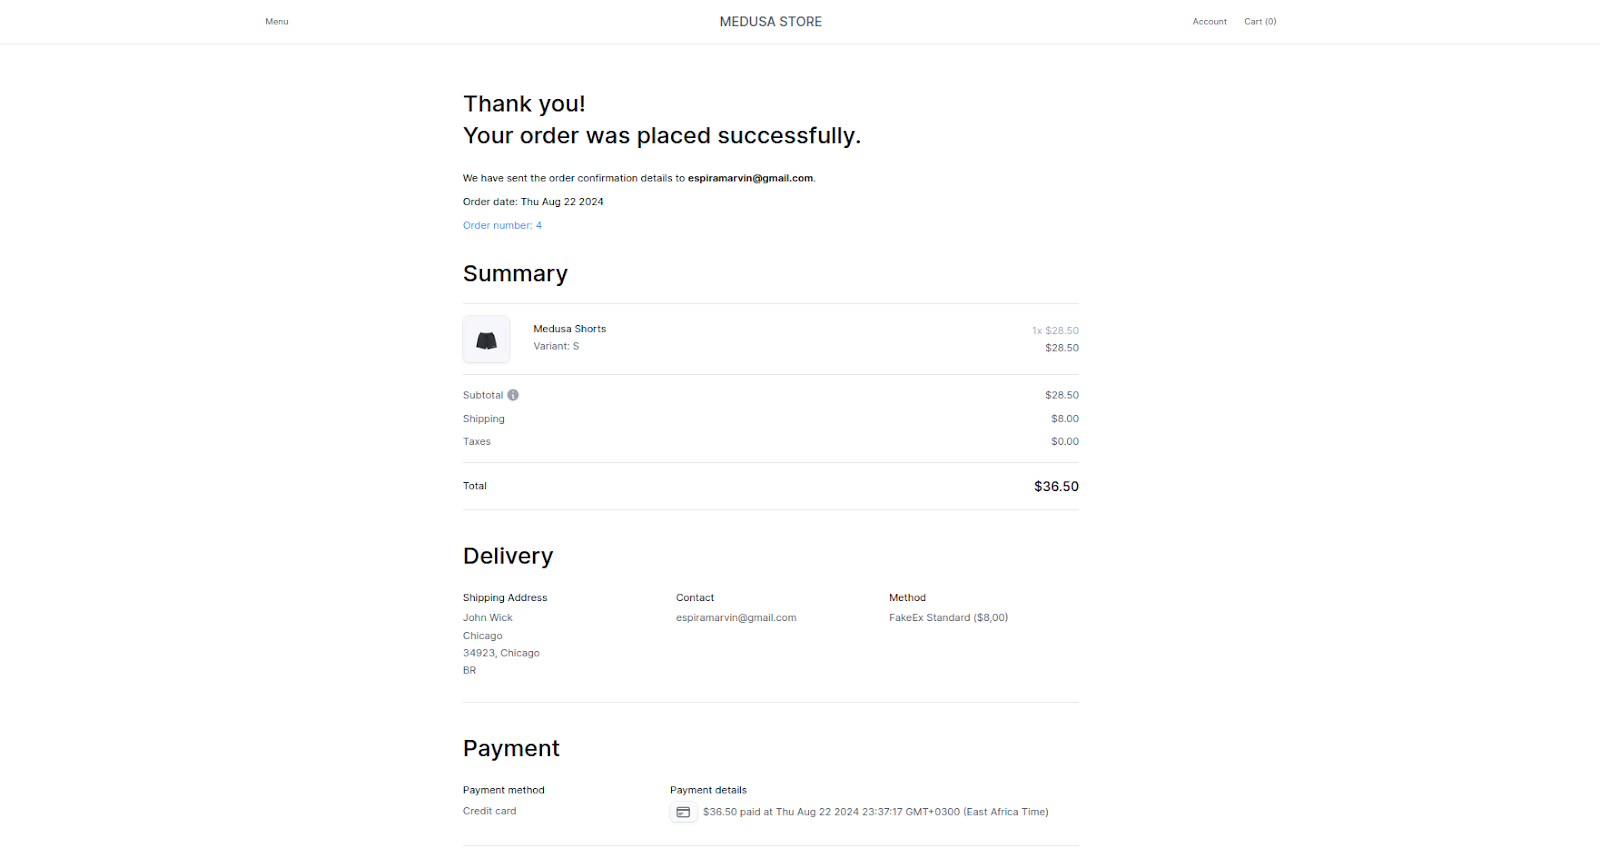
Once payment is added, click Continue to review, and finally Place the order to complete the checkout process.
2. Deploy the new version via Nomodo admin.
- Push your local changes to your GitHub remote repository.
- Open the applications’s Nomodo admin instance, go to Settings → Environmental variables and add the Stripe’s Environment variables.
- Click on the Restart button to propagate the changes.
- If you want to deploy and make all changes available, perform a deploy (App Details, Deployments tab).
3. Configure Stripe’s Environment variables and restart the application.
Stripe provides two main environments, development and production environments, which each require different setups. A complete guide is provided in the Stripe’s official documentation.
3.1 Testing Environment
For the development environment, Stripe provides an api_key, that will help you simulate real-world transactions, with a variety of test card numbers to test for various payment scenarios, like successful payments, failed payments and refunds.
It also provides webhook_secret, this hook can be pointed to your MedusaJS backend local server {BACKEND_URL}/stripe/hooks and set to listen to selected events Stripe sends after a transaction is completed.
3.2 Production Environment
In production environment, Stripe provides live API keys which handle real transactions, it also provides webhook_secret, the webhook_secret is now configured to point to your production server. The webhook handles real events related to payments, disputes, refunds, etc.
3.3 Deployment to Nomodo.io
Deployment to any stripe environment, is just a few clicks using the nomodo.io admin. Go to Settings → Environmental variables and update Stripe’s environment variables. Once done, you can click on Restart or Redeploy to propagate the changes.
Overview
You’ve now successfully set up stripe plugin as a payment method for your MedusaJS project, and deploying it to Nomodo is just few clicks. Thanks to Nomodo, you can stop worrying about your business revenue management cycle and instead focus on creating amazing experiences for your customers. Give Nomodo a try and experience seamless deployment today!
Try this integration with Medusa.js free trial
Use code NHMSCVBU for a $5 discount.
Start Medusa.js free trial