
Getting Started with MedusaJS
Easily set up MedusaJS on Nomodo.io with out‑of‑the‑box backend and monitoring services.
Before you start
- We provide an out‑of‑the‑box MedusaJS backend along with administration and monitoring services.
Installing MedusaJS
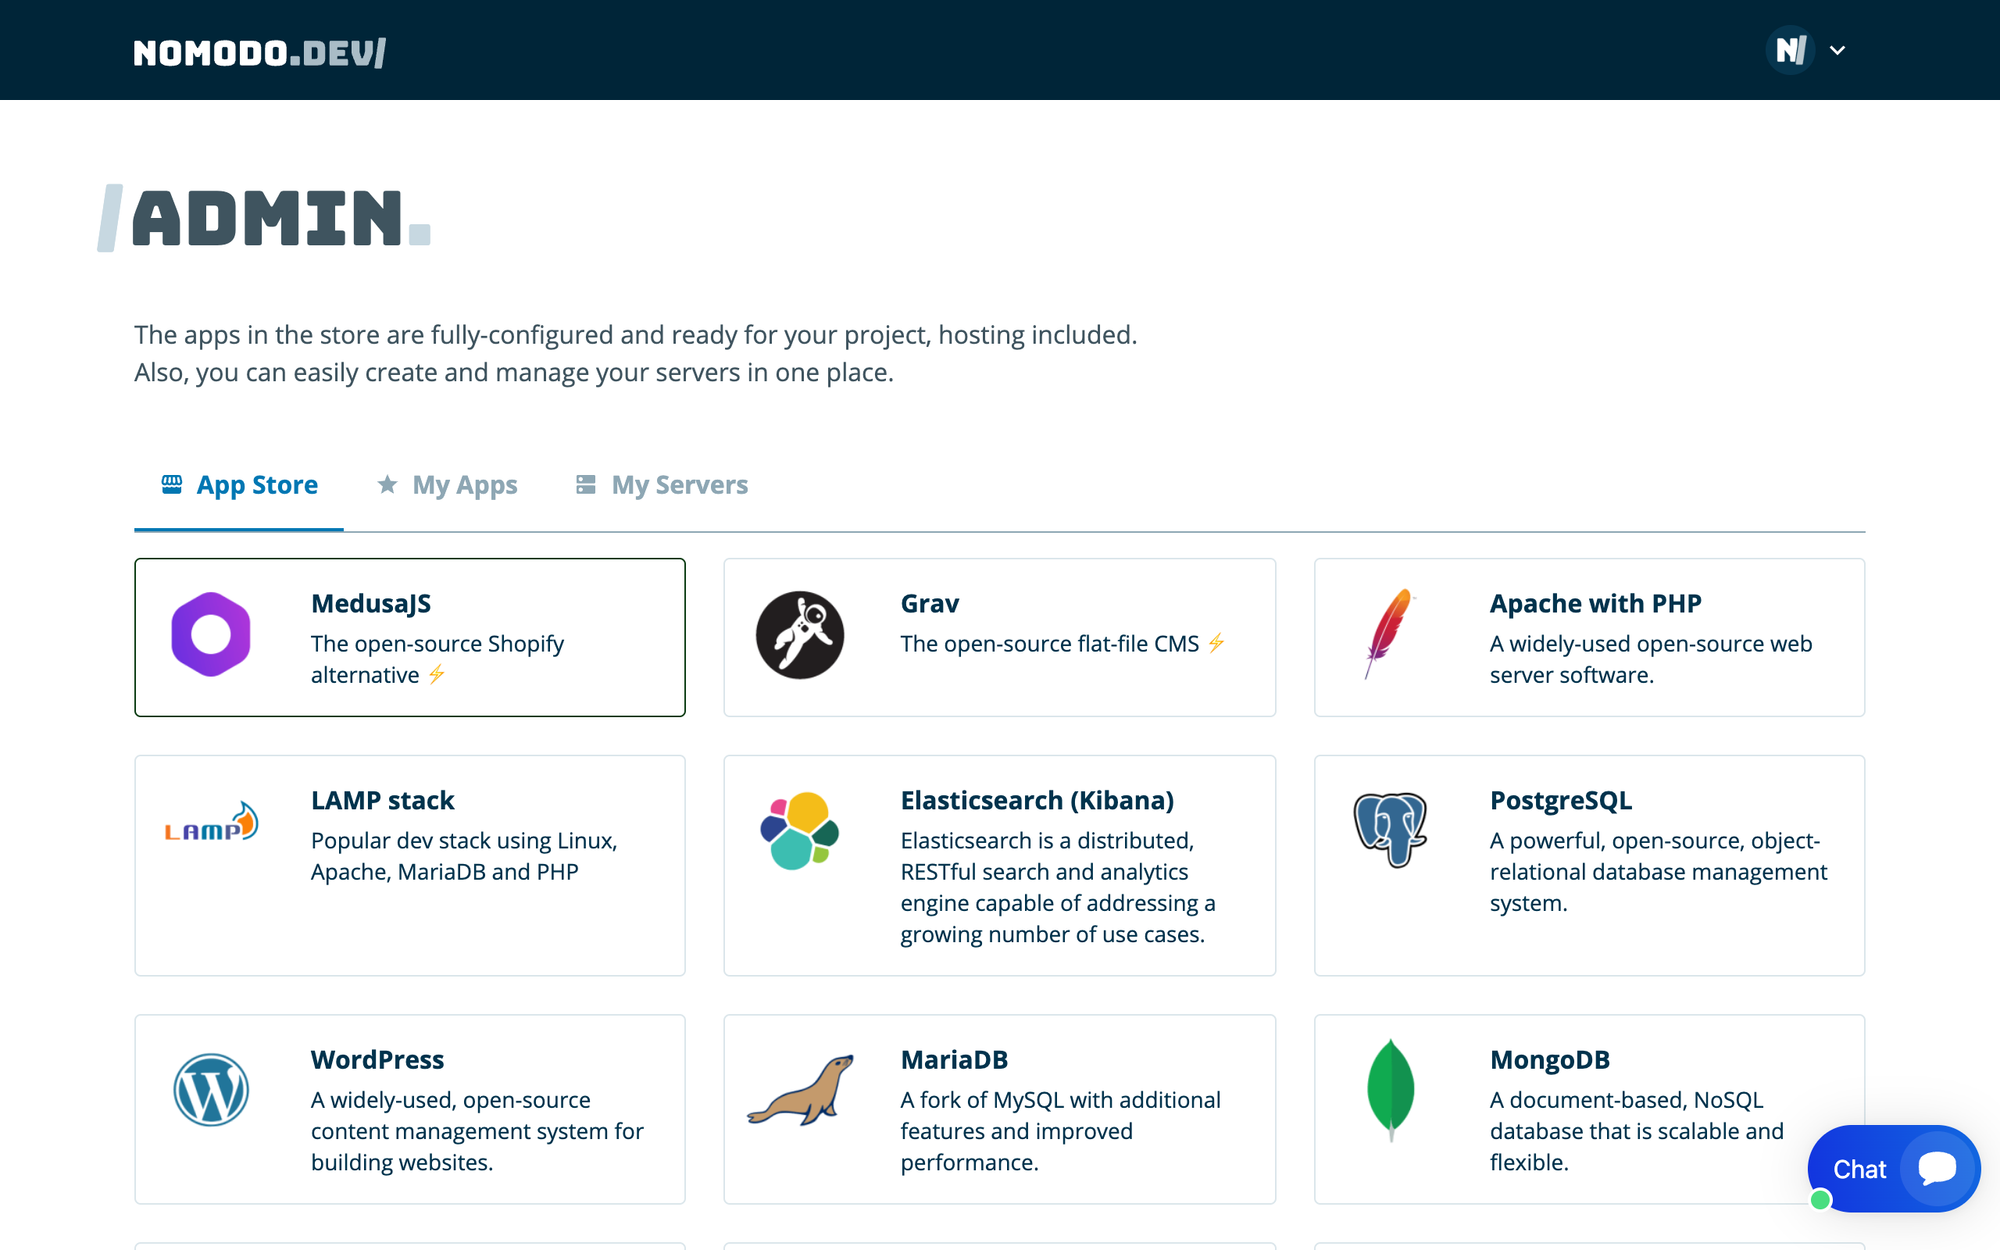
- Login to admin.nomodo.io.
- Select MedusaJS from the list.
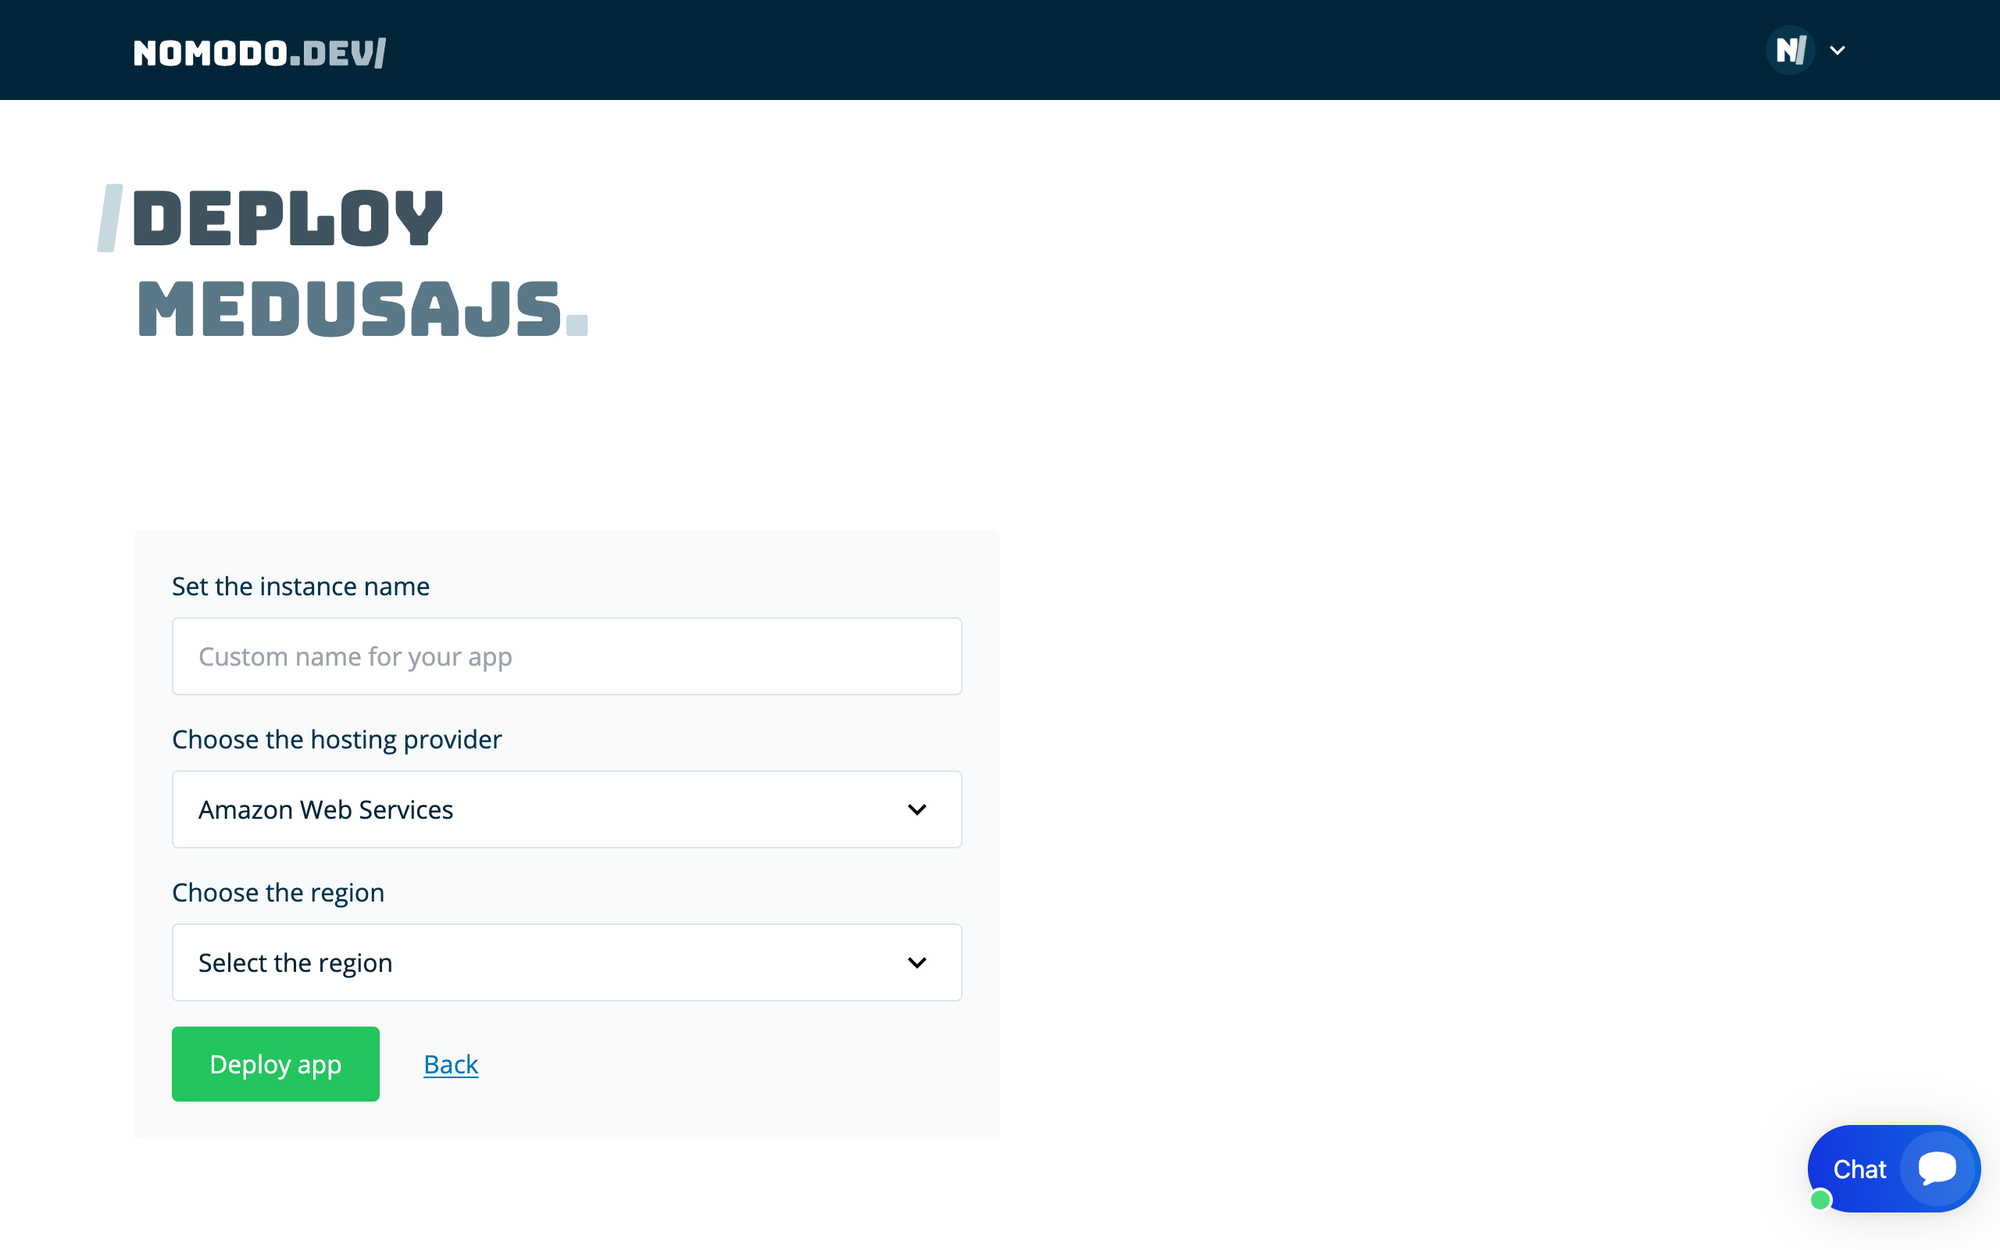
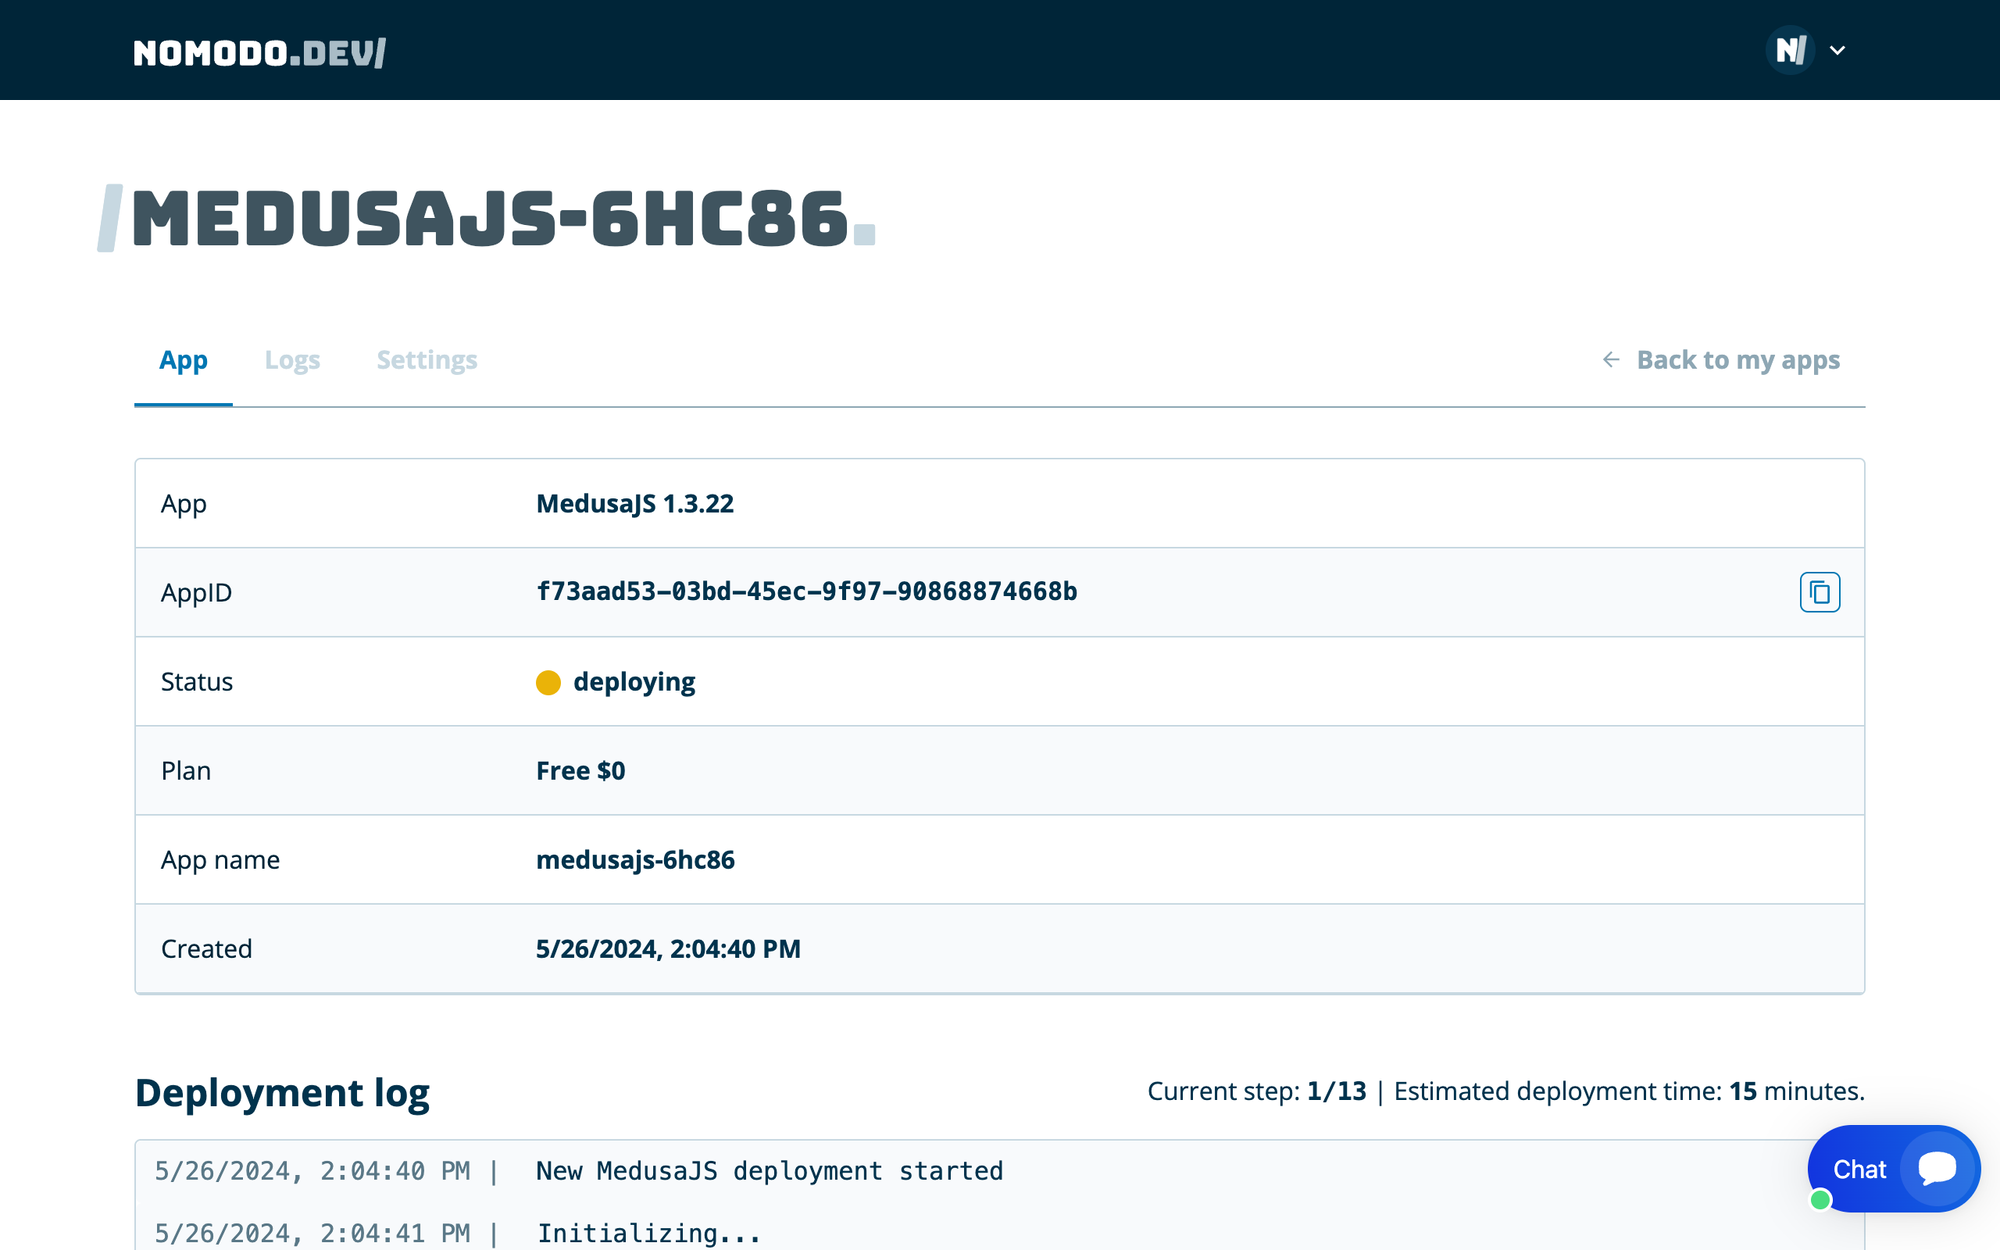
- Wait for automatic setup.
- Review the MedusaJS dashboard with all functional parts and settings as environmental variables, GitHub integration etc.
Customizing your project
- Make changes in the Git repository and commit.
- Refer to the Medusa documentation for further customisation.
💡
For more details, check out our descriptive 3‑click deployment guide or watch the 1‑minute video tutorial. For advanced setups, learn how to configure a custom domain or understand their IP whitelisting security features.
Do you still need help?
- For project questions, see the Medusa documentation and Discord channel.
- For infrastructure, hosting, and SSL questions, use our Discord channel.